
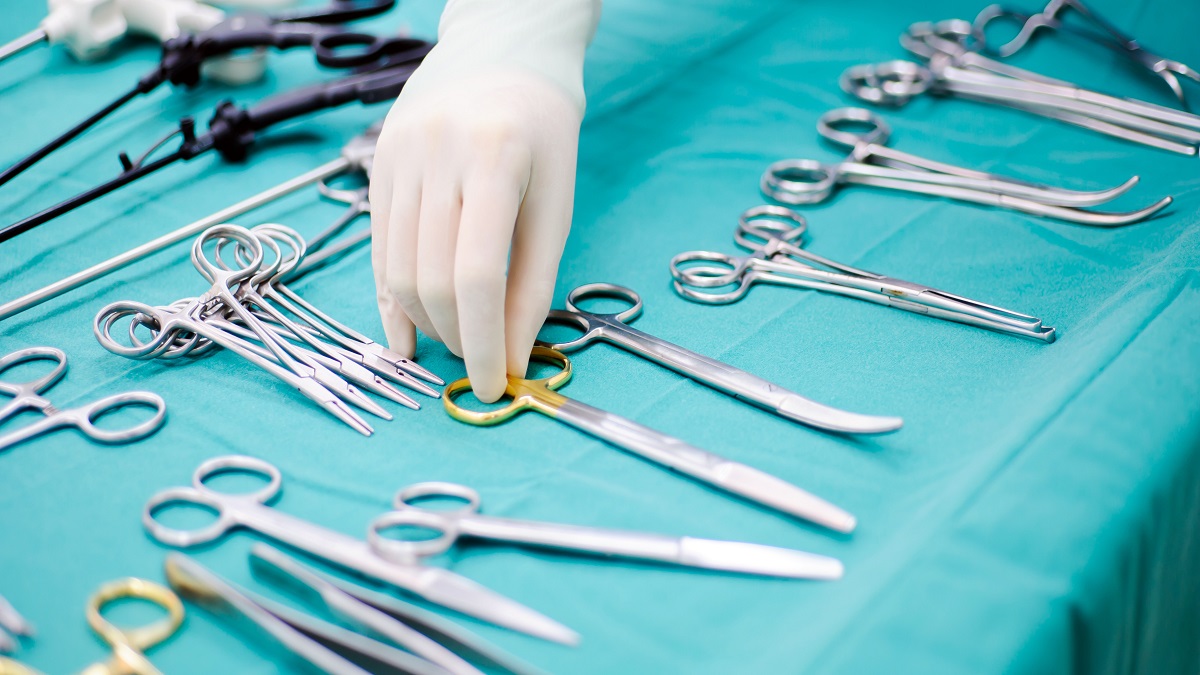
It is of the utmost importance that medical professionals and hospital technicians adhere to the appropriate protocols and standards when it comes to sterilizing and cleaning all of their surgical Single Use Instruments to reduce the risk of patients contracting contagious diseases or infections during their procedures. The technicians working in hospitals have access to a wide variety of different strategies that they can implement to guarantee that the surgical tools are always kept in pristine condition and are spotlessly clean.
Single Use Instruments
The approach that involves ultrasonic cleaning is the most recommended one for cleaning surgical Single Use Instruments out of all the methods that are available for doing so because it is relatively simple to follow and requires significantly less effort and time than the other methods. When it comes to the cleaning of particularly sensitive and delicate tools, however, healthcare workers must take the time to clean them by hand. This article will teach you how to clean instruments using ultrasonic waves if you are interested in learning more about ultrasonic cleaning of instruments.
It can create oxidation
The first thing that you need to keep in mind is that any surgical tools that have been used need to be cleaned as soon as possible after they have been used. If you leave the debris and blood dry on the Single Use Instruments, it can create oxidation, which can seriously harm the instruments and cause them to clamp and rust. If you do this, it is important to remove the debris and blood as soon as possible. Hence, as soon as the surgeon is through using an instrument, you should promptly clean it using warm water to ensure that any remnants of tissue or debris are removed. After that, you should put the surgical instruments that have been rinsed into a detergent, and again, you should prefer to use a cleaning solution that is specially designed for instrument cleaning. After that, you should allow your instruments to remain dipped in this solution for somewhere between ten and twenty minutes.
Its ultrasonic cleaning solution
After using a detergent to clean your Single Use Instruments, you will need to pat dry them with a clean towel and then prepare them for further cleaning in an ultrasonic cleaning machine. After first filling the machine with its ultrasonic cleaning solution, you will need to use tongs to pick up the brittle surgical instruments and then submerge them into the machine’s ultrasonic cleaning solution. As you submerge your instruments, you should exercise extreme caution to prevent the pointed edges of one instrument from rubbing against the pointed edges of another instrument. You should also leave the thong that you used for immersing slightly dipped within for some time so that you can clean the ends of the instruments that were touched by the thongs. This will ensure that the instruments are in pristine condition.
It is time to start the ultrasonic cleaning machine, and you should wait somewhere between five and ten minutes before retrieving your equipment. After the machine has been turned off, use the same thongs to remove the surgical tools from the machine, and then place the instruments on a tray that has been carefully cleaned and sanitized so that they can air dry naturally.
While manually cleaning instruments
While manually cleaning instruments, it is recommended that you use a decent scrub brush since it will enable you to reach into little edges and rounds that are difficult to get into using your fingers. This is the case, especially when cleaning round orifices. In this step, like in the previous one, you will need to immerse the surgical equipment in detergent for the amount of time described before. When you clean something manually, you have to put your hands in the cleaning solution as well, and you need to scrape well beneath each of your fingernails for the best possible results. The remaining steps of the process are unaltered.
Comments are closed.